Showing posts with label DIY. Show all posts

Saturday, September 27, 2014

Escape pods : recycled materials

So I thought I would make some escape pod objective markers for my Gruntz 15mm obsession. Just need to slap some paint on them.

Blue caps are from strawberry milk bottles, turbine things are from baby bottles or formula, I have no idea. Wooden disks and a wooden mushroom thingy from he local craft store and voila.


Friday, July 25, 2014

Gruntz 15mm: German Quar in Space army reinforcements


I found these little guys in one of my many RISK games collected over the years. I think they will make great Quar robo-helpers for my new Quar army. ?maybe?


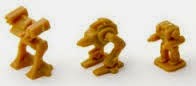
The Game which is also a great source of 15mm robot minis...just sayin.


Also the game board is great for an invasion of Terran campaign based game. It even comes with the moon... and it is already divided into territories...who would have thought.


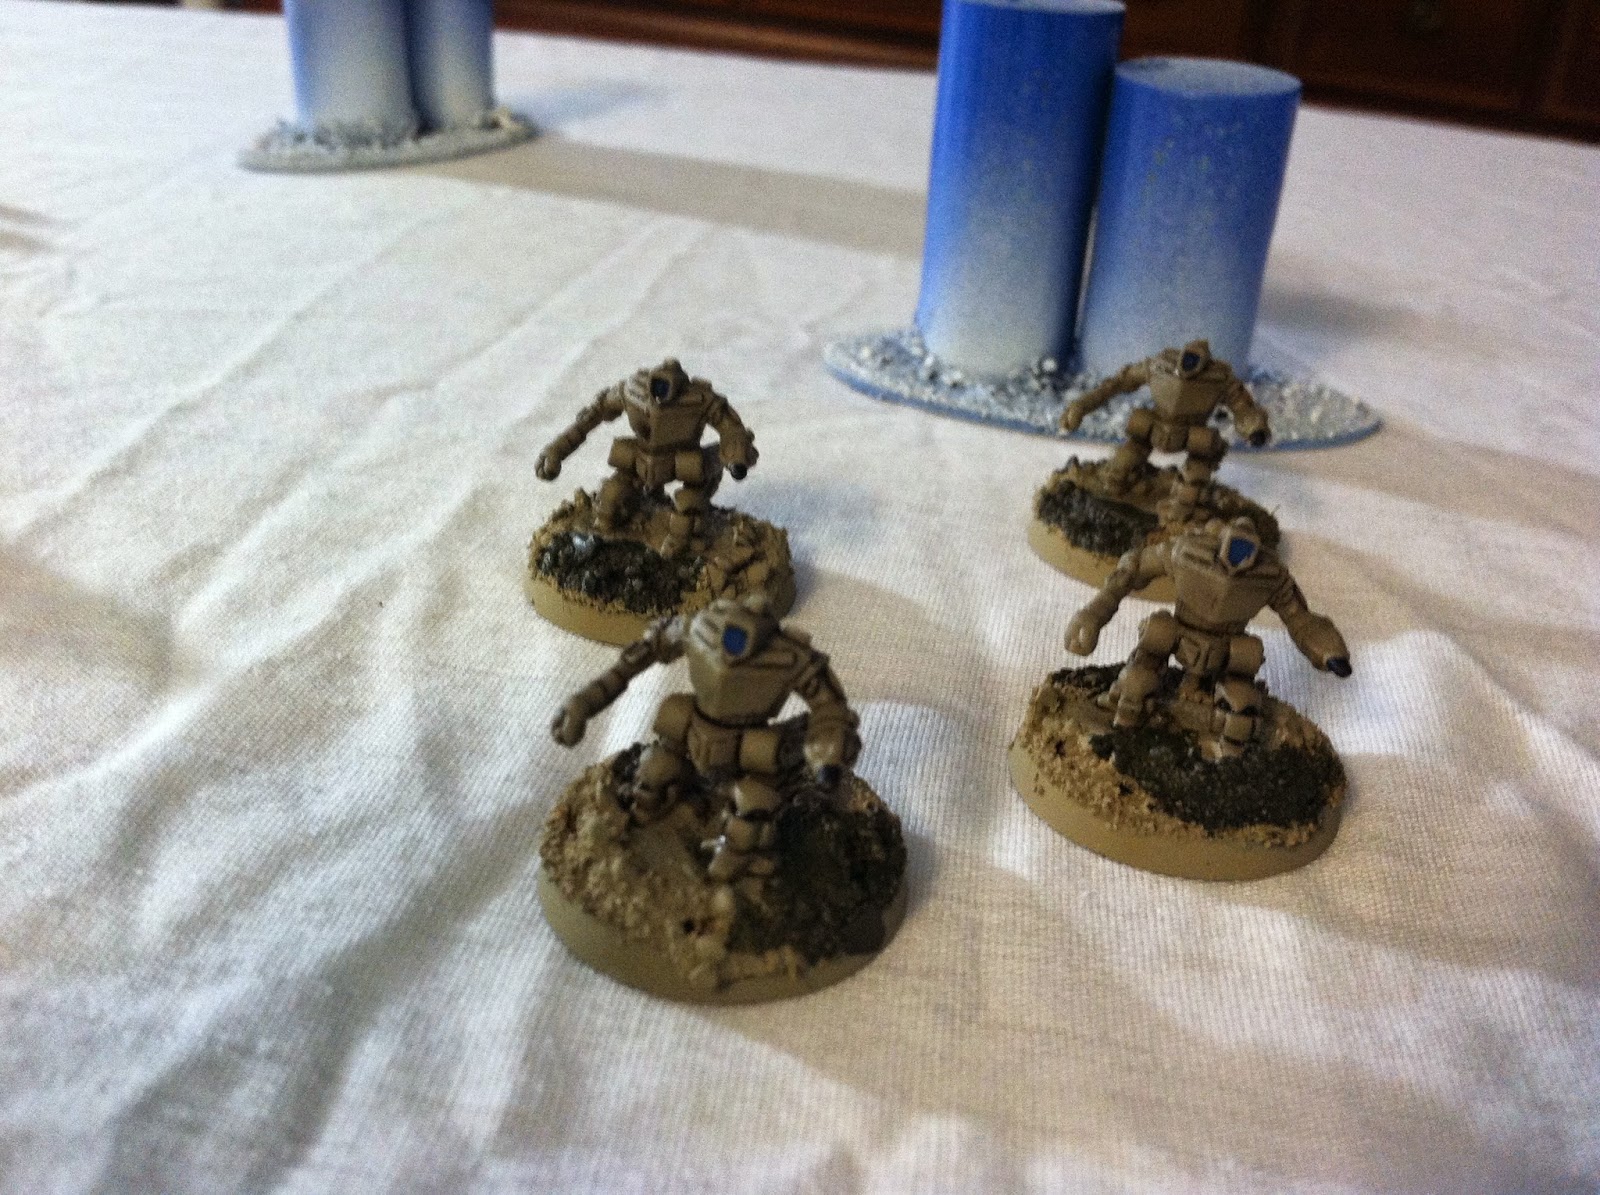
Size comparison for the three useable minis with themselves. The one on the left is going in my Synod Clone army as robotic weapons platforms. The one in the middle was obviously made with the Quar in mind. and the last one (which is the size of a 15mm dude or Power Armored dude in 15mm is going in my Consensus of Artificial Systems army list as basic robo-gruntz.


you even get some 6mm terrain and 6 x 28mm dudes for another DIY army project. the small robot is about the size of a 15mm dude (maybe a hair bigger).

This is close to but not all of the dudes you get for each side x 5. With one game you an five friends could all have 15mm robo armies. all this will cost you about $40. 


Monday, July 21, 2014

DIY: Terrain Project: Ice World terrain

Ok so the glue has dried...

now prime your pieces and then hit them with some spray paint blue. Once the blue has dried the hit the bottom portion of each piece with some white spray paint. After that you hold the can about 2 feet above each piece and hit the pieces from the top. 


blue base color.


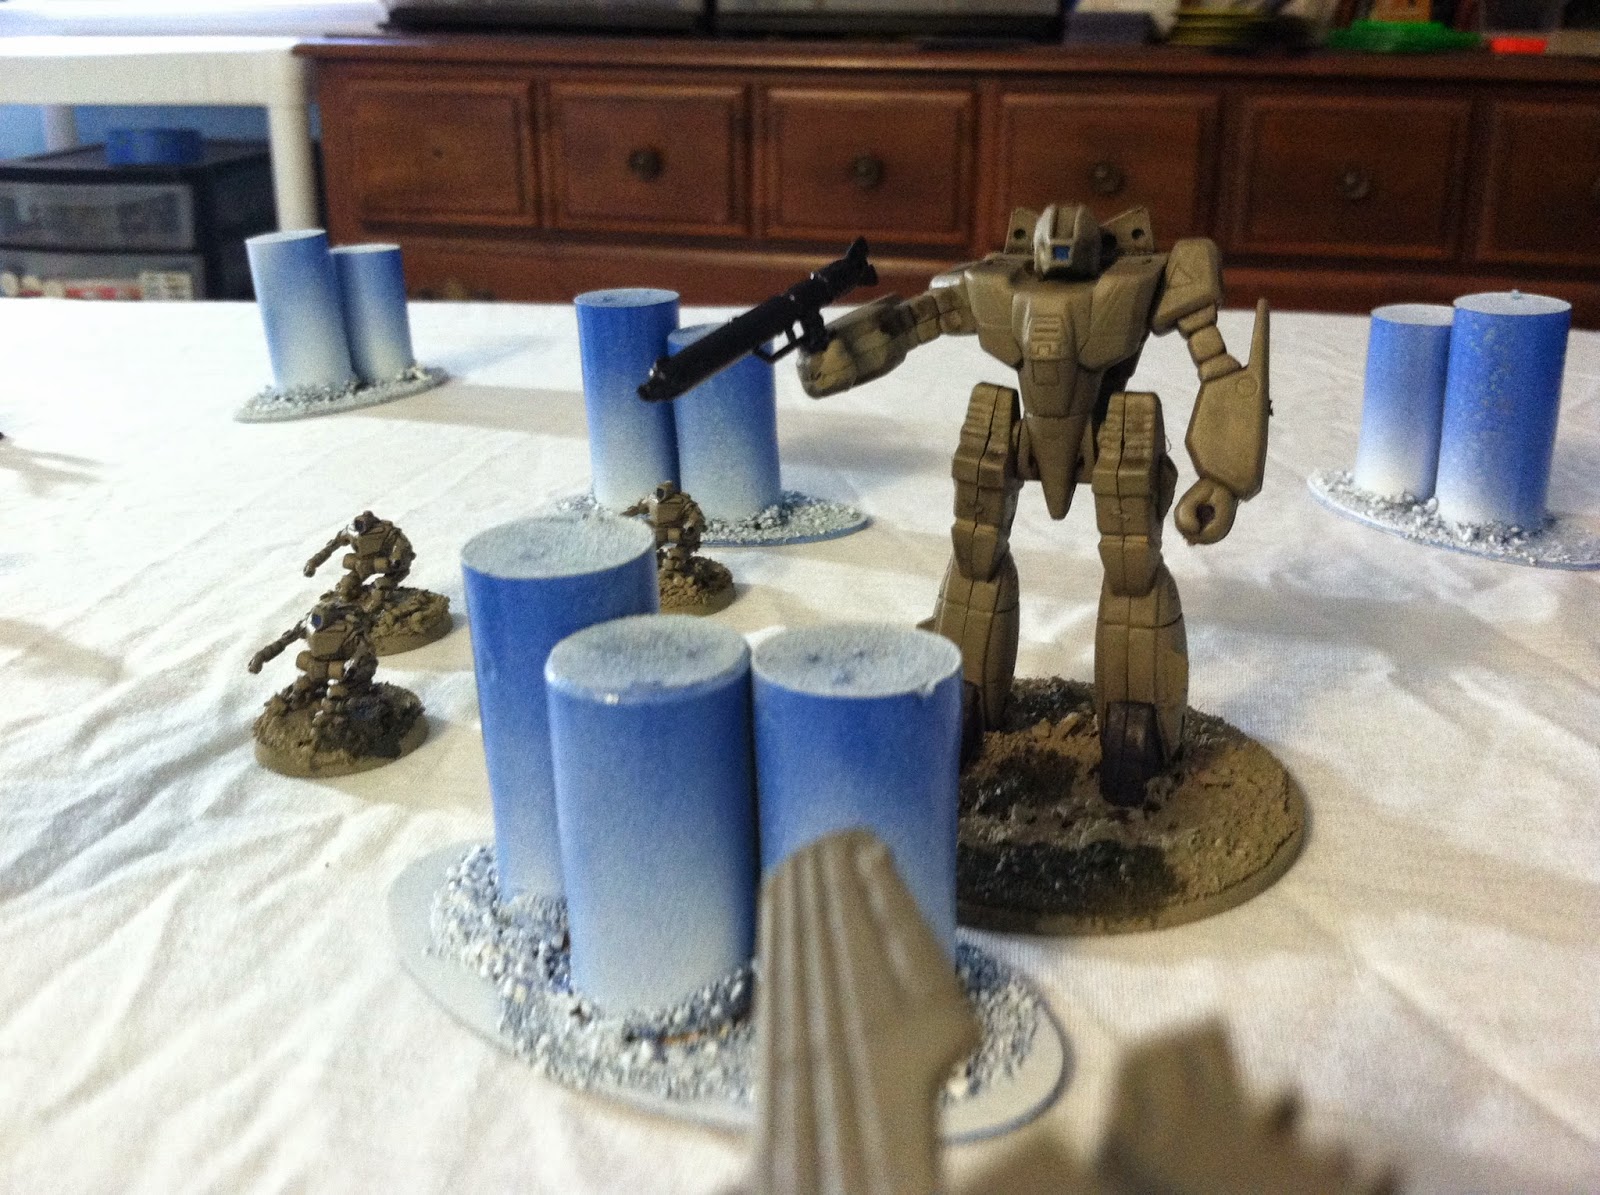
as you can see the pieces fill up a 4'x4' board and they have the height to provide cover for both infantry and medium sized mecha or vehicles.

Roll that beautiful gaming porn footage...


Sunday, July 20, 2014

DIY Terrain Project: Ice Board Part 1


In this article we are going to make an entire 4' x 4' boards worth of alien ice world terrain.

What are you going to need?
Corks - a Shit ton
Elmer's glue
Sand
small wooden or plastic bases
White and Blue Paint
Snow Flock
Water


cut some of the corks in half with an angle but be careful not to cut off your finger.


Use Tacky Glue or some other adhesive to glue them to your bases of choice.


Then glue all of your regular un-cut corks to their respective bases. The let the glue dry over night or they will slide everywhere when you try to flock them.


Once they are dry apply Elmer's glue liberally to your bases before dipping them into your flocking tin.


Let them Dry for at least a few hours...


 I said to let them dry for a few hours... come back later when they are dry....


Tuesday, July 8, 2014

DIY: Full Thrust Rocky Planets, Moons and Jovian worlds.

So I wanted to make some 3D terrain for my games of Full Thrust. I have some great 2D terrain from an old BFG box set. I found some doll heads at AC Moore. for relatively cheap. The wooden balls, two bags of gemstone counters and a thing of glue cost me $20. 


Wooden Balls before paint. The biggest will be a Sun, the Next biggest will be a Jupiter size gas giant. The middle balls will be rocky planets or large moons, and the smallest will be small planets or moons of the Gas Giant.


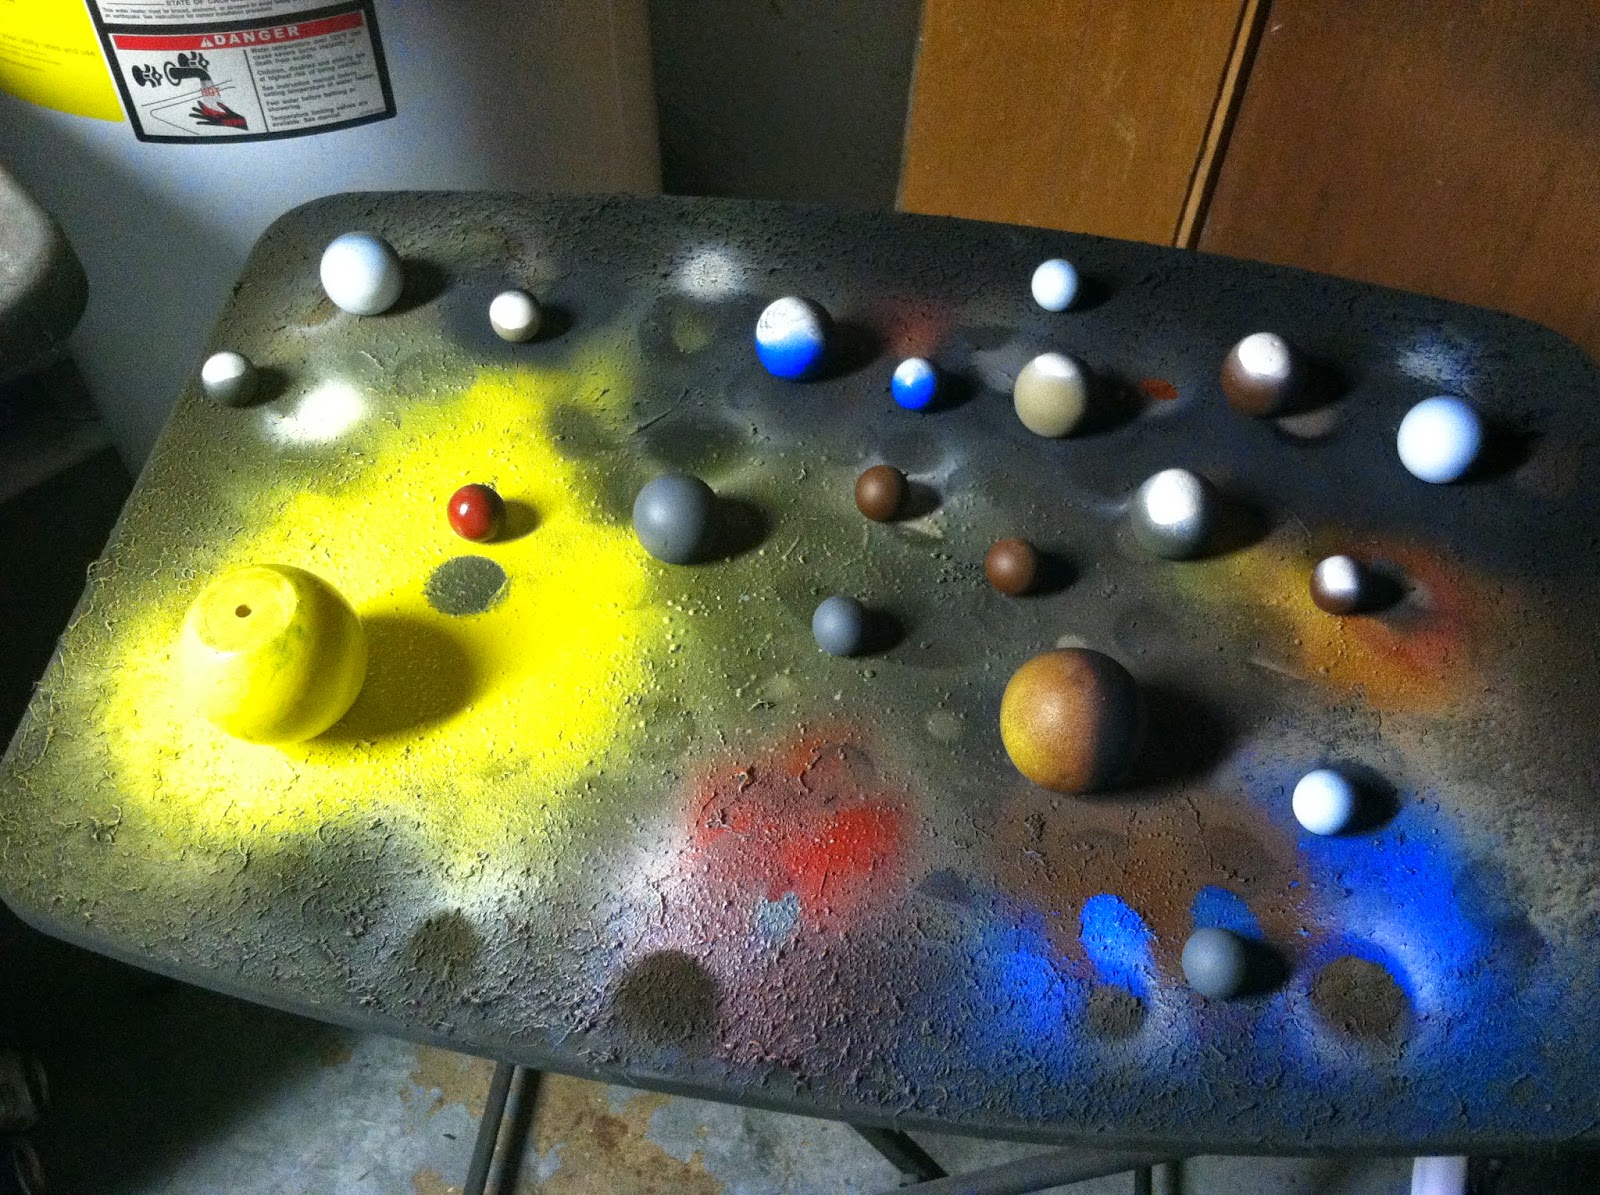
Primed the balls black. Then sprayed one side a color, either blue, tan, grey, green or light blue depending on what type of world I was going for. After those two layers dried I tried to hit just the top with white to simulate either a large polar ice cap or weather system.


Sun on the left getting painted, Jovian gas giant on the right getting some work done. I used a mix of colors (red, yellow, rust and white) while the paints were still wet to get a weird swirl of color.


The group together on the now psychedelic paint station.


once the colors were on I sprayed black on the dark side of the planet to simulate just the light from the star hitting on only one side of the planet as it would in reality.


The View from the light side.


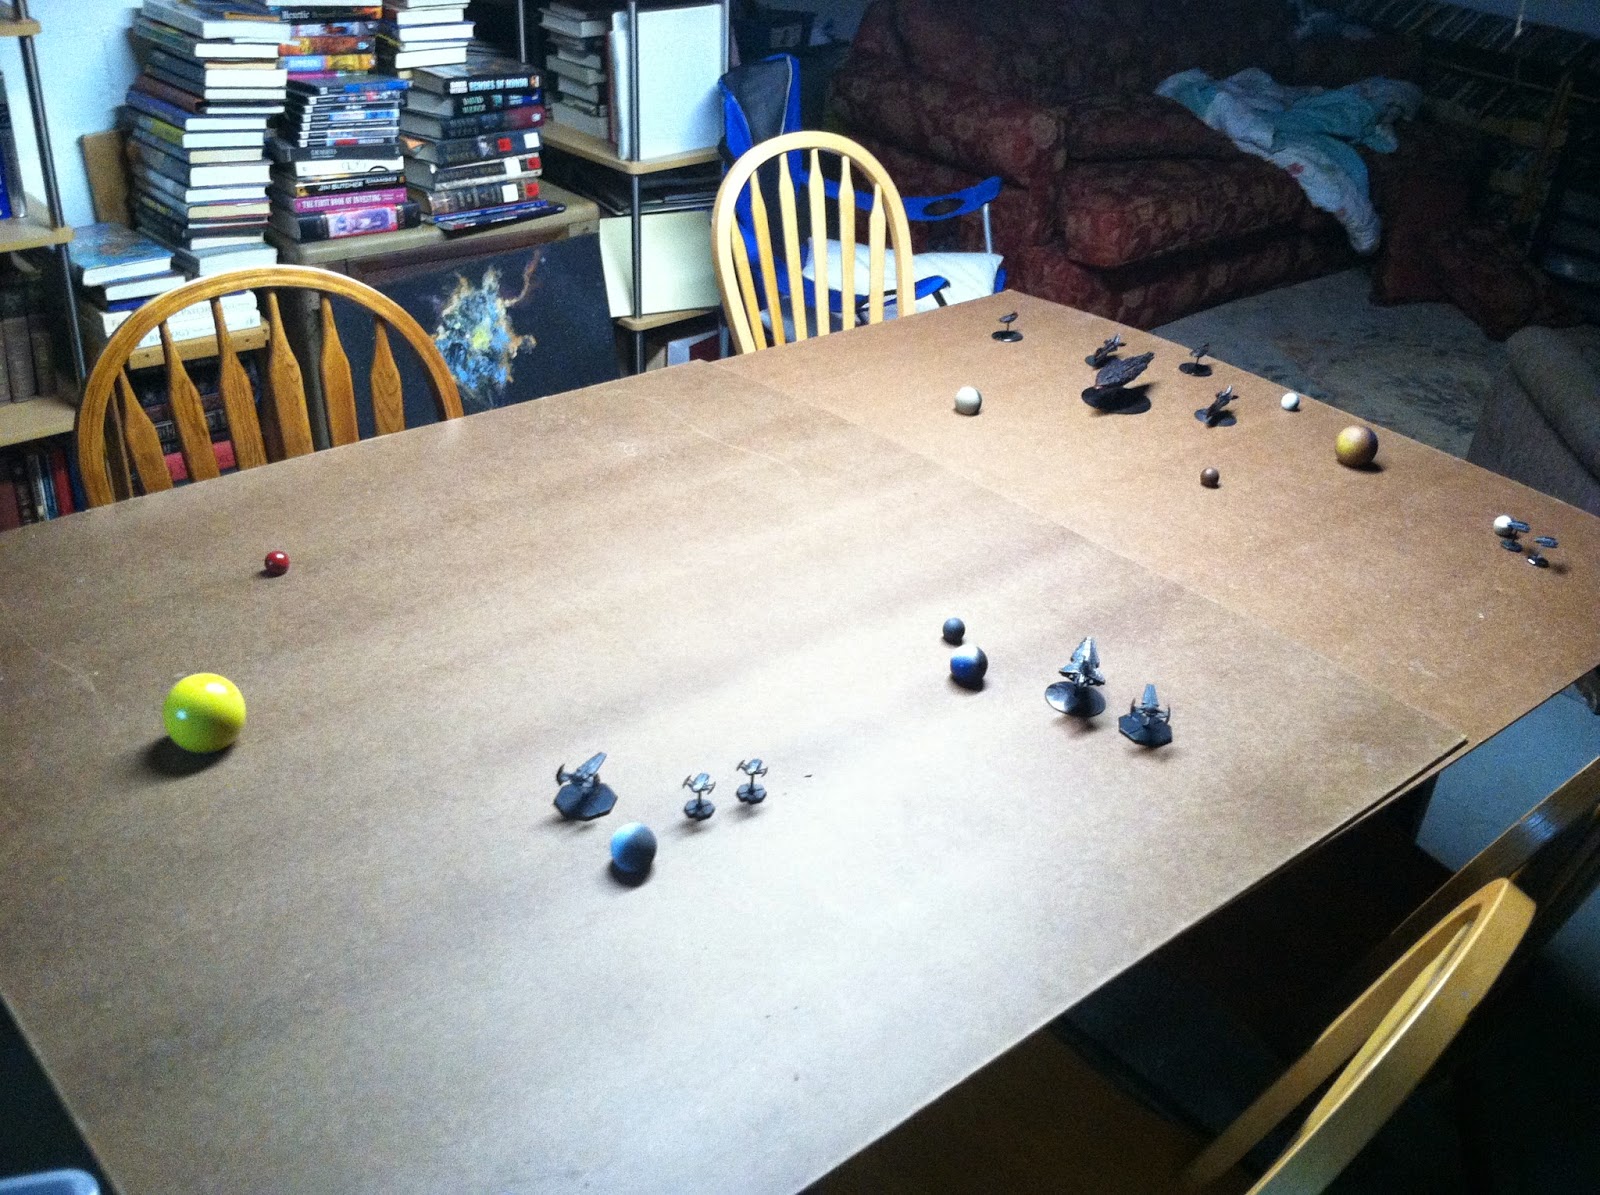
Set up the sol system with our Sun, Mercury, Venus, Earth, Mars and Jupiter with a few moons for a quick size comparison shot on a 6' x 4' table 


Terrible class cruiser escorting an Invincible class Heavy Cruiser near Earth orbit.


The Ghost fleet led by a Butcher class Dreadnought enter the inner solar system as the pass through the orbit of Jupiter and then Mars.


Two frigates near Titan Base scramble to meet the unexpected threat.


Next I need to paint the game table in a black starfield...


The planets and moons all gathered together and ready for some touch-up work and details tomorrow.

Thursday, July 3, 2014

DIY Terrain Project: Dropping Pod


So I was sitting here working on another project when I just started thinking about how cool it would look if I make the drop pod with the deployed decelerator prop to look like it was just about to hit the ground.

So I gently pulled it off of the base and found a round wooden disk. I quickly drilled a hole in the bottom of the pod and a larger one in the disk. I used some tacky glue to secure the disk and some Elmer's glue to add some flock. It wasn't enough flock so I put on some more glue and gave it another dip in the sand can.


I will let it sit and dry overnight and tomorrow be ready for priming. I built it so that I can remove the flight peg and have it remain clear but if it gets glued by accident I guess I will just pain it a light blue. Or maybe red and yellow as a jet of flame from the landing rocket that fires a second before landing... then maybe add some smoke (cotton balls) for effect.

 This thing is turning into a project all by itself...

Tuesday, July 1, 2014

Terrain Corner: DIY Rock Piles in Ten easy steps.

So I needed some rock piles for desert warfare with my 10mm and 15mm dudes. They are easy as pie to make.


Step One: Go find some gravel
Step Two: Glue it to a base be they round, square or oval.
Step Three: glue on some sand basing material around the rock clusters


Step Four: when the glue is dry spray them with your favorite base color (tan camo for these)


Step Five: I used min wax wood stain to wash these with. Get both the rocks and the base sand.


Step Six: Dry brush with your favorite lighter than base color.


Step Six: Add some dry grass flocking in patches.


Step Seven: Seal with your favorite model sealant.


Step Eight: Put them on a table with a matching theme.


Step Nine: Play a game with them as terrain.


Step Ten: Write a BatRep or AAR and share with the rest of us... Game on!